|
|
|
|
House Rules
Tables of Organization
Vehicles and Equipment
Scenarios and Action Reports
Settings and Histories
Links
Reference Information
Articles of Interest
Gallery and Modeling
Contact and Submissions
|
Introduction Picture 1 Picture 2 Picture 3 Picture 4 Picture 5 Picture 6 Picture 7 Picture 8 Picture 9 Picture 10 Picture 11 Picture 12 Picture 13 Picture 14 |
 Return to Convoy Attack Thumbnail Gallery Next Picture Return to Convoy Attack Thumbnail Gallery Next Picture
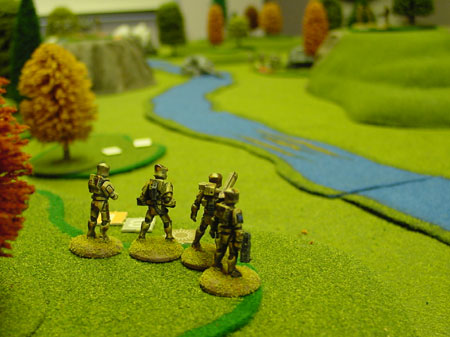
Convoy Attack Gallery - Picture 10
Return to Convoy Attack Thumbnail Gallery Next Picture
stargrunt.ca stargrunt.ca stargrunt.ca stargrunt.ca stargrunt.ca stargrunt.ca stargrunt.ca stargrunt.ca stargrunt.ca stargrunt.ca stargrunt.ca stargrunt.ca stargrunt.ca stargrunt.ca stargrunt.ca stargrunt.ca stargrunt.ca stargrunt.ca For further details, see our Copyright and Terms of Use notice. Any questions regarding this website should be directed to the Webmaster. |
|||||||